

Quick Answer
Yes, you can install a ceiling fan without existing ceiling wiring, but the process is different from replacing an old fixture. You need to create a new electrical connection, install a ceiling fan-rated electrical box, and ensure the circuit meets local electrical requirements. For many homeowners adding a white ceiling fan with light and remote to an older room, the biggest challenges are not assembling the fan itself but safely routing new wiring and providing proper structural support.
If you are uncomfortable working inside your home's electrical system, hiring a licensed electrician is the safest option.
How I Installed a Ceiling Fan Without Existing Wiring: What I Learned Before Starting
When I first decided to add a ceiling fan to a room that had no existing ceiling fixture, I assumed the project would be simple. I thought the process would be similar to replacing a light fixture: remove the old fixture, connect a few wires, and attach the new fan.
I quickly realized that installing a ceiling fan where no wiring exists is a completely different project.
A ceiling fan is heavier, creates constant movement, and requires stronger support than a standard ceiling light. A normal electrical box designed only for a light fixture may not safely hold a rotating fan. The electrical connection also needs to be planned carefully, especially when installing a modern white ceiling fan with light and remote because the receiver module, lighting circuit, and motor control all need reliable power.
According to the U.S. Department of Energy, ceiling fans are regulated as energy-related products because they circulate air through motor-driven blade rotation. They are designed to improve comfort by moving air rather than directly lowering room temperature.
After researching electrical requirements and talking with professionals, I learned that the installation process could be divided into several important stages:
Checking whether the room has accessible power sources
Planning the new wiring route
Installing a fan-rated electrical box
Mounting the ceiling fan securely
Connecting the remote-controlled fan and light system
Testing the installation safely
This guide explains what I learned so other homeowners can understand the process before starting.
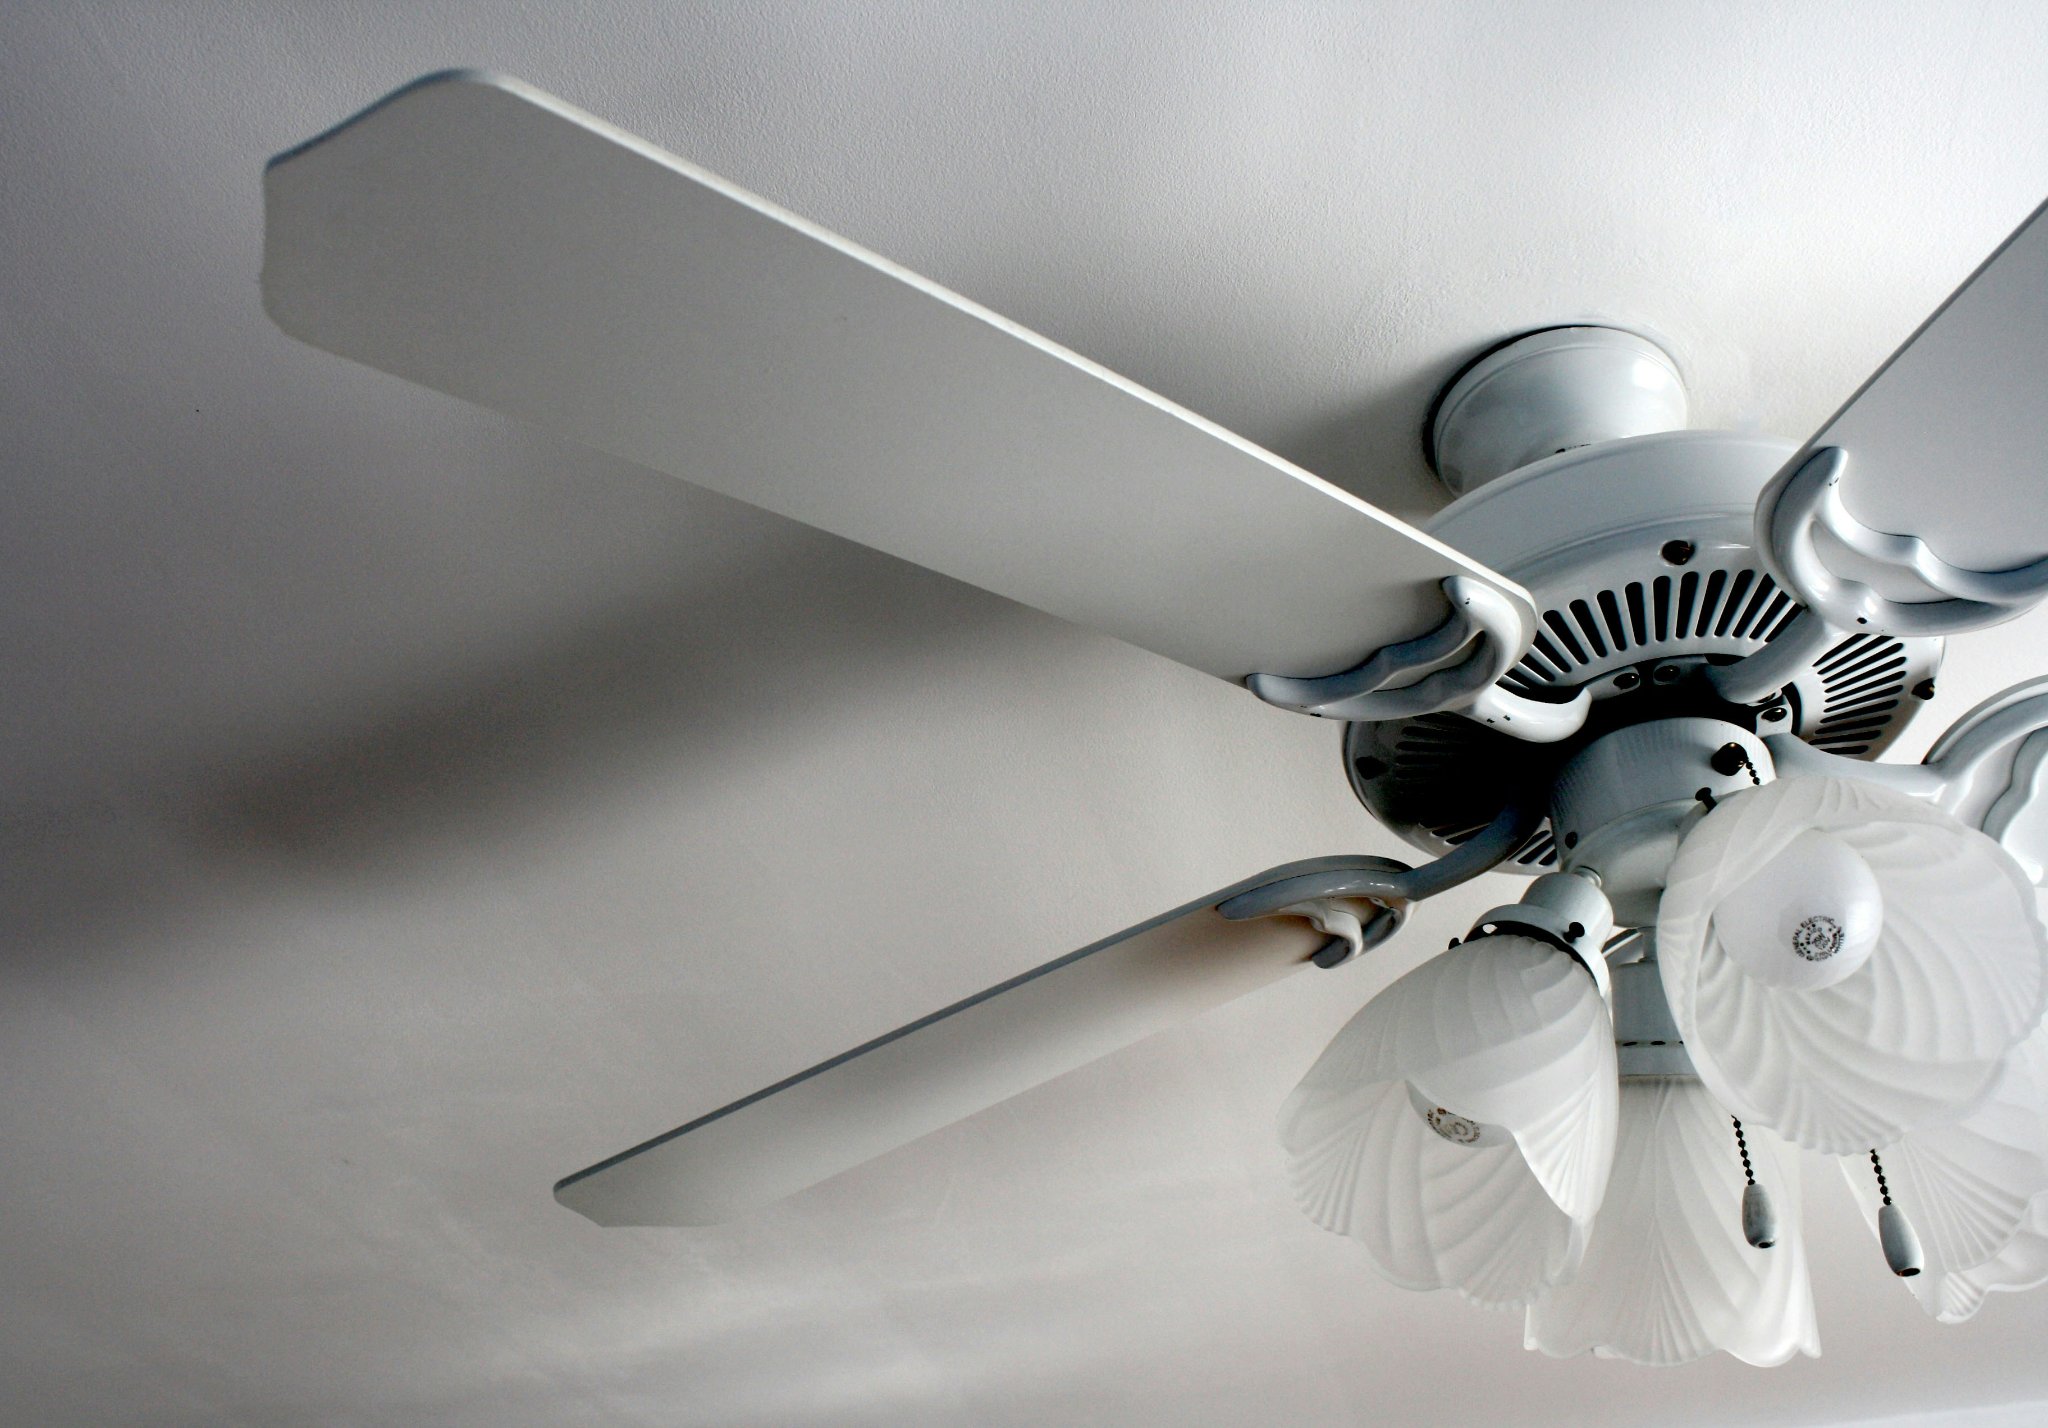
Can You Install a Ceiling Fan Without Existing Wiring?
Yes, you can install a ceiling fan without existing wiring.
However, "without existing wiring" can mean several different situations:
There is no ceiling electrical box at all
There is a ceiling box, but it only supports a light fixture
There is power nearby through a wall outlet
There is a wall switch but no ceiling connection
The home has older wiring that needs modification
Each situation requires a different approach.
For example, adding a white ceiling fan with light and remote in a newly renovated bedroom may require running a new cable from an existing circuit. In an older home, the installer may need to access the attic or open sections of the wall to create a safe wiring path.
A common mistake is assuming that any ceiling junction box can support a fan. A ceiling fan produces rotational force and vibration, so the mounting system must be specifically designed for fan support.
The National Electrical Code (NEC) requires electrical installations to use appropriate equipment and approved installation methods. The exact requirements depend on local adoption of the NEC, but the general principle is consistent: ceiling fans must be properly supported and connected.
My First Step: Checking the Existing Electrical Situation
Before purchasing a ceiling fan, I inspected the room carefully.
I started by answering three questions:
1. Is there already power in the ceiling?
If there is already wiring above the ceiling, the installation may only require replacing the existing fixture box with a fan-rated box.
However, if there is no ceiling wiring, new cable must be installed.
2. Is there an accessible power source nearby?
Many homes have electrical outlets or switches that can potentially provide power for a new ceiling fan installation.
However, the circuit must be evaluated before connecting additional load. A ceiling fan with integrated lighting combines motor and lighting functions, meaning the electrical demand is different from a simple lamp.
3. Can I access the ceiling structure?
Access is usually easier when there is an attic above the room.
With attic access, an installer can:
Run electrical cable more easily
Install a ceiling fan brace
Position the electrical box correctly
Avoid unnecessary wall damage
Without attic access, the project may require fishing wires through walls or ceilings, which is usually more complicated.
Choosing the Right Ceiling Fan Before Installation
One thing I noticed during my research was that choosing the fan first makes the electrical planning much easier.
A modern white ceiling fan with light and remote is often easier to retrofit than older fan models because many remote-controlled fans only require a single power connection. The remote receiver controls the motor speed and lighting functions after installation.
This means homeowners may not need separate wall wiring for fan speed and light control.
However, the ceiling still needs:
A properly rated electrical box
Correct wiring connections
Strong structural support
The appearance of the fan should not be the only consideration.
Before installation, I checked:
Room Size
A fan that is too small will move insufficient air, while an oversized fan may create uncomfortable airflow.
Ceiling Height
Low ceilings may require a flush mount or low-profile fan.
Lighting Requirements
For bedrooms and living spaces, choosing a fan with integrated LED lighting can eliminate the need for a separate ceiling light.
Control Method
A remote-controlled model can simplify installation because the homeowner does not always need to install multiple wall switches.
Why a Fan-Rated Electrical Box Matters
This was the most important technical point I learned.
A regular ceiling electrical box is designed mainly for stationary fixtures. A ceiling fan creates continuous movement, so the mounting system must handle additional mechanical stress.
A fan-rated box is designed specifically for ceiling fans and provides stronger attachment points.
Installing a fan on a standard light box can lead to:
Excessive vibration
Noise
Loose mounting hardware
Potential safety risks
Professional installation guides also emphasize that installing a ceiling fan without proper support requires additional structural work rather than simply connecting wires.
When I prepared my installation plan, I treated the fan support as equally important as the electrical connection.
Understanding the Electrical Work Involved
Many homeowners focus only on connecting the wires, but the most challenging part is usually creating the electrical pathway.
A typical installation without existing wiring may involve:
Turning off power at the circuit breaker
Identifying a suitable power source
Installing electrical cable
Mounting a fan-rated junction box
Connecting the ceiling fan wiring
Installing the remote receiver
Testing motor and light functions
Safety should always come first.
The electrical work involved with adding a new ceiling fan is different from replacing an existing fixture because it modifies the home's electrical system.
For homeowners without electrical experience, this is the stage where consulting a licensed electrician is often the best decision.
My Biggest Lesson From This Installation
The biggest lesson I learned was that installing a ceiling fan without existing wiring is not really a "fan installation project."
It is an electrical planning project that happens to end with installing a fan.
The fan assembly itself is usually straightforward. The important parts are:
Making sure the ceiling structure can support the fan
Creating a safe electrical connection
Following local electrical requirements
Choosing the correct fan control system
Once these parts are planned correctly, installing a white ceiling fan with light and remote becomes much more manageable.

Step-by-Step: How to Install a Ceiling Fan Without Existing Wiring
After understanding the electrical requirements, I organized the installation process into practical steps. The exact method can vary depending on the home's structure, but this is the general approach I followed.
Step 1: Turn Off Power and Confirm the Circuit Is Safe
Before touching any wiring, I switched off power at the circuit breaker.
This sounds obvious, but many electrical accidents happen because people assume a switch controls all power in an area. A wall switch only interrupts part of the circuit in many homes; it does not always disconnect power completely.
The Occupational Safety and Health Administration (OSHA) emphasizes the importance of de-energizing electrical equipment before performing electrical work whenever possible. Electrical safety procedures should always be followed before installation or maintenance.
I used a voltage tester to confirm that no electricity was present before beginning work.
Step 2: Determine the Best Power Source
Since my ceiling did not already have wiring, I needed to decide where the new electrical connection would come from.
Common options include:
Option 1: Extending From an Existing Ceiling Circuit
This is often the cleanest solution if attic access is available.
The cable can be routed above the ceiling and connected to the existing electrical system.
Option 2: Connecting Through a Nearby Wall Switch
Some homeowners prefer adding a wall control because it feels more traditional.
However, modern ceiling fans with remote controls often simplify this process because the remote receiver can control:
Fan speed
Light operation
On/off functions
Option 3: Installing a New Dedicated Circuit
In some cases, especially during renovations, adding a new circuit may be the best long-term solution.
This depends on:
Existing electrical capacity
Home wiring condition
Local electrical code requirements
For older American homes, especially those built several decades ago, checking the electrical panel capacity is an important step.
Step 3: Install a Ceiling Fan Support System
This was the step I underestimated the most.
A ceiling fan does not only hang from the electrical box. The box and mounting hardware must support:
The weight of the fan
Continuous vibration
Rotational movement from the motor
A fan-rated brace or support system is commonly installed between ceiling joists when there is no existing fan support.
According to the National Electrical Manufacturers Association (NEMA), electrical products must be installed according to their intended application and safety requirements. Using components designed only for lighting fixtures is not appropriate for ceiling fan applications.
This is why replacing a normal junction box with a fan-rated box is often necessary.
Step 4: Install the Electrical Box and Wiring
Once the support structure is ready, the electrical box can be installed.
The wiring usually includes:
Hot wire
Neutral wire
Ground wire
The exact wiring configuration depends on the fan model and local electrical requirements.
For a modern white ceiling fan with light and remote, the receiver module is usually installed inside the fan canopy.
The receiver communicates with the remote control and manages:
Motor speed changes
Light switching
Sometimes dimming functions
One advantage of remote-controlled ceiling fans is that they reduce the need for multiple wall wires.
Step 5: Assemble and Mount the Ceiling Fan
After the electrical preparation was complete, the physical fan installation became much easier.
The general process includes:
Attach the mounting bracket
Connect safety wire if required
Install the motor housing
Attach blades
Install the light kit
Place the remote receiver
Attach the canopy
I recommend assembling as much as possible on the ground before lifting the fan.
A ceiling fan is heavier and more awkward than a normal light fixture, so having another person help during mounting can make the process safer.
Step 6: Test the White Ceiling Fan With Light and Remote
After installation, I tested each function separately.
I checked:
Test Area |
Functions Checked |
Details |
|---|---|---|
Fan Operation |
Speed settings |
Tested low, medium, and high speed modes to ensure smooth operation |
Direction switch (if available) |
Checked whether the fan direction adjustment works properly |
|
Lighting Operation |
On/off function |
Verified that the light turns on and off correctly |
Brightness adjustment |
Tested brightness levels if the dimming function is included |
|
Color temperature settings |
Checked different color temperature modes if available |
|
Remote Control |
Pairing |
Confirmed that the remote connects with the fan and light properly |
Signal response |
Tested response distance and control accuracy |
|
Battery function |
Verified that the remote battery works correctly |
Many newer ceiling fans use remote pairing systems. If the remote does not work immediately, the receiver may need to be synchronized according to the manufacturer's instructions.
How Much Does It Cost to Install a Ceiling Fan Without Existing Wiring?
When I researched the cost, I found that the price varies widely depending on the home's condition.
A basic replacement installation may be inexpensive, but adding new wiring requires more labor.
Typical factors affecting cost include:
Electrical Access
Homes with attic access are usually easier because wiring routes are more accessible.
Ceiling Structure
Installing new support may increase labor time.
Wall Repairs
If drywall must be opened to run cable, additional repair work may be required.
Local Labor Rates
Electrician prices vary significantly depending on location.
According to HomeAdvisor's installation cost research, ceiling fan installation prices depend heavily on whether new wiring and electrical modifications are required.
For many homeowners, the cost difference between DIY installation and professional installation is not only about money. It is also about safety, code compliance, and long-term reliability.
Common Mistakes I Would Avoid When Installing a Ceiling Fan
After researching this project, these are the mistakes I believe homeowners should avoid.
Mistake 1: Hanging a Fan From a Regular Light Box
This is probably the most common error.
A light fixture box may not provide enough support for a moving fan.
Mistake 2: Ignoring Ceiling Weight Capacity
Different ceiling structures require different mounting methods.
Always check whether:
The joists can support the fan
The bracket is correctly secured
The mounting hardware matches the fan design
Mistake 3: Choosing the Wrong Fan Size
A beautiful white ceiling fan with light and remote still needs to match the room. I recommend considering room dimensions when selecting lighting and ceiling fan products.
A small fan in a large room may provide poor airflow, while an oversized fan may create excessive movement.
Mistake 4: Forgetting About Airflow Direction
Many modern ceiling fans include reversible motors.
During summer:
Counterclockwise rotation pushes air downward
Creates a cooling breeze
Improves comfort
During winter:
Clockwise rotation helps circulate warm air near the ceiling
The U.S. Department of Energy explains that ceiling fans can allow homeowners to adjust thermostat settings while maintaining comfort because they improve perceived cooling through air movement.

DIY Installation vs Hiring an Electrician: What I Recommend
Before starting, I honestly considered doing everything myself.
The mechanical assembly of a ceiling fan is something many homeowners can understand.
However, creating new electrical wiring is a different category of work.
A homeowner may be comfortable with:
Installing blades
Mounting decorative parts
Pairing a remote
But should carefully consider professional help for:
Adding new circuits
Running permanent wiring
Modifying electrical panels
Working with unknown wiring systems
The National Fire Protection Association (NFPA) reports that electrical distribution and lighting equipment remain significant sources of residential fire risk, which is why electrical modifications require careful attention.
My approach was to separate the project into two parts:
Mechanical installation: possible for many experienced DIY homeowners.
Electrical modification: something I would only handle if I fully understood the requirements and local regulations.
FAQs
1. Can I install a ceiling fan where there is no existing wiring?
Yes, a ceiling fan can be installed without existing wiring, but new electrical connections and proper ceiling support are required. The installation usually involves running new cable, adding a fan-rated electrical box, and connecting the fan according to local electrical requirements.
2. Can a white ceiling fan with light and remote be installed without a wall switch?
Yes, many modern remote-controlled ceiling fans can operate without a dedicated wall switch because the remote receiver controls fan speed and lighting functions. However, the ceiling fan still needs a properly installed power connection.
3. Do I need a special electrical box for a ceiling fan?
Yes, ceiling fans require a fan-rated electrical box designed to support movement and weight. Standard light fixture boxes are generally not suitable because they are not designed for continuous vibration.
4. Is installing a ceiling fan harder than installing a ceiling light?
Yes, installing a ceiling fan is usually more complicated because it requires stronger structural support and must safely handle motor vibration. The electrical connection may also be more complex when no previous wiring exists.
5. How long does it take to install a ceiling fan without existing wiring?
The installation time depends on access and electrical conditions. A simple retrofit may take several hours, while projects requiring new wiring or ceiling repairs can take longer.
6. Can I run a ceiling fan from an existing outlet?
Sometimes, but the circuit must be suitable and the wiring method must comply with electrical codes. It is not recommended to simply connect a ceiling fan using temporary extension cords or unsafe wiring methods.
7. What size ceiling fan should I install in my room?
The correct fan size depends on room dimensions. Larger rooms generally require larger blade spans, while smaller bedrooms and offices usually work better with compact models.
Aktie:
A Complete Guide to Energy-Efficient Garage Lighting Ideas
What Way Should the Ceiling Fan Turn in Winter? A Homeowner’s Guide